


Small Kitchen Renovation on a Budget

When we first purchased this house, one of the things that was top on my priority list was upgrading the kitchen. I knew we didn’t have the budget to completely re-arrange, remove, and do a full on remodel, BUT we could make some upgrades that would pack a big punch! So, after almost nine months in this house, this kitchen has made such an amazing transformation and it’s about 90% completed. Here’s what we have done so far, and be sure to scroll down to the end to make sure you see what the final amount we spent!

Remove Outdated Touches
We started by removing the mirrors and ceiling fan in the kitchenette area. There is a gas stove in the kitchen, and when we are cooking, even with the vent from the microwave, it gets a little warm. So I totally understood where the builder was coming from and why the fan was added. However, we have already upgraded the HVAC system, and by upgrade I mean, added an entirely new HVAC system, so we didn’t worry at all about removing the fan. We actually found out that ceiling fans in kitchens were very commonly put in older homes in the south in the 80’s when our home was built. Who knew?!
Cost: $0 We removed both of these on our own, so we didn’t have to pay for labor.


Replacing the Light Fixtures
Then we replaced the light fixtures. I wanted to go with champagne brass lighting and the pendant light above this World Market small round table, was the perfect size! I went with something classic for above the sink as well, and used a vintage lightbulb to bring in some warmth to the space. Just completing these two projects were life changing for this little kitchen that could.
Total Cost: $250
Pendant Light: $170 Over the Sink Light: $80

Adding Backsplash
We added the backsplash while the cabinets were still their darker color. Cooking in that super dark kitchen with the thick lacquered varnish on it was leaving me so uninspired and I had to do something about it. We added the white subway backsplash and it was an immediate mood booster! It brightened up our drab kitchen until we went into our next phase of renovation, which was painting the cabinets.
Total Cost: $1070
Labor: $1000
Tile and Supplies: $70

Painting the Cabinets
We had the cabinets sanded and painted a creamy white. The exact color is Benjamin Moore’s Chantilly Lace. It’s become one of my favorite whites to have in a home. It’s just the right amount of cozy with still feeling clean, bright, and polished.
Total Cost: $1300
Labor: $1000
Paint and supplies: $300

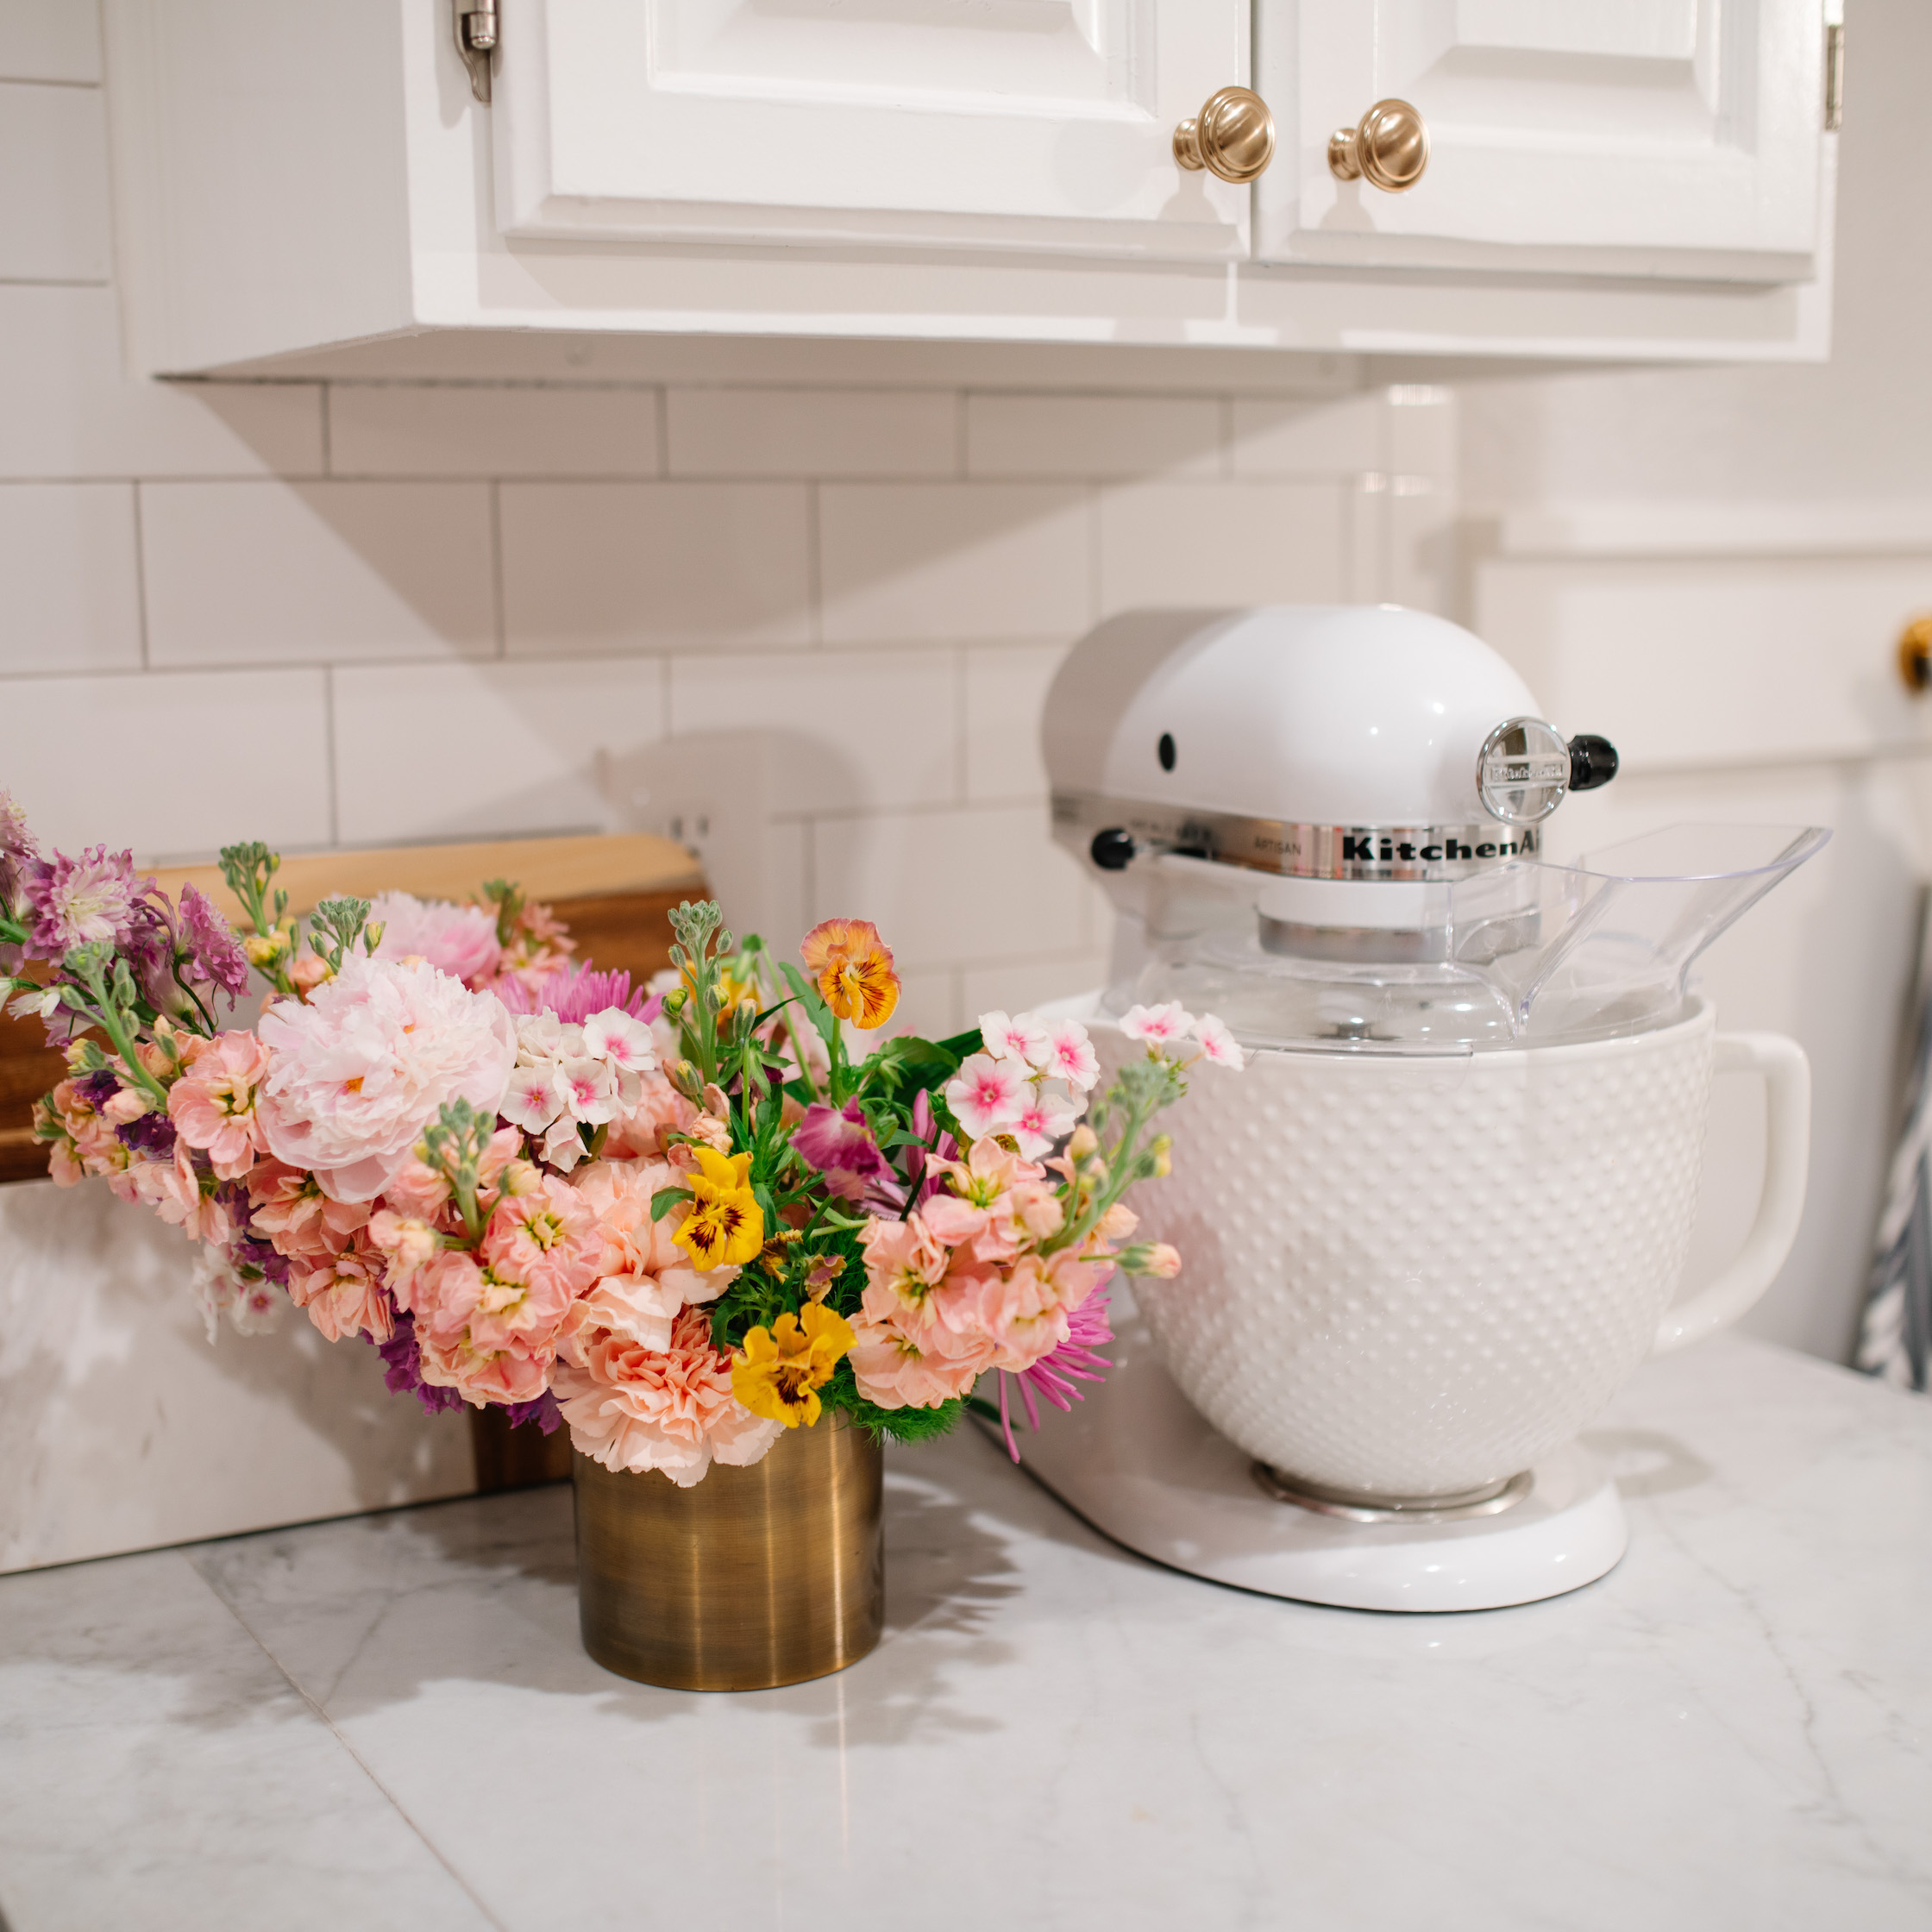
Adding Hardware to the Cabinets
We added champagne brass knobs and pulls to really bring the kitchen from drab to fab! The best part is, they were super affordable! The brass knobs and the pulls were $3.98 each!
Total Cost: $105
Pulls $25
Knobs $80

Adding an Architectural Element: Board and Batten
We added board and batten to surround the kitchenette area and really feel like this is pretty complete now! I helped with this part. I already had some experience with this at our previous home because I installed Board and Batten in our entryway. You can get a full tutorial here.
Total Cost: $360
Lumber and Supplies: $240
Hooks: $70
Paint: $50
What’s up Next for our Kitchen?
We have one last thing to complete before we are able to say it’s complete, and that’s the flooring! After the kitchen came together, we couldn’t stop and leave the builder grade flooring in this light and bright newly remodeled kitchen. We chose a white and grey patterned tile to be installed in the kitchen, laundry room, entry way, and downstairs powder room! It’s a fun pattern that will really liven up our home and we are really looking forward to it! That process begins May 1st!
Total Cost: $ 2600
Labor: $2000
Tile: $600

Kitchen Renovation Cost Breakdown
Now for the moment everyone has been waiting for! Our total renovation cost including the upcoming floor tile in the kitchen is:
Total Cost: $6315
Cost still too high? The good thing is that even doing one or two of these items will really keep your renovation costs down AND give your kitchen those instant upgrades they need! Additionally, if you are a DIY pro, you can totally scratch the labor costs and bring down your costs tremendously!
The kitchen renovations were all done by Estrada Painting and More, with a little help from myself on the Board and Batten. If you’re local to San Antonio or the surrounding areas, owner Josué is available to book beginning June 1, 2021. You can find Estrada Painting and More on Facebook and on Instagram. I’ve started some DIY projects of my own, check out my DIY page for more inspiration!
Flooring Update
We have a new floor! We love the patterned tile we chose from Del Torre Tile. The style is called Annabelle Gray. It’s also the tile we used in our upstairs bathroom renovation. We loved it so much, we also had it installed in the kitchen, laundry room, foyer, and powder room. We are so pleased with how everything turned out! Things are really coming along here! We might end up switching out the faucet for a gold one, but for now we are really happy with how everything has come together for this kitchen!


comments
0
Share this post on: