


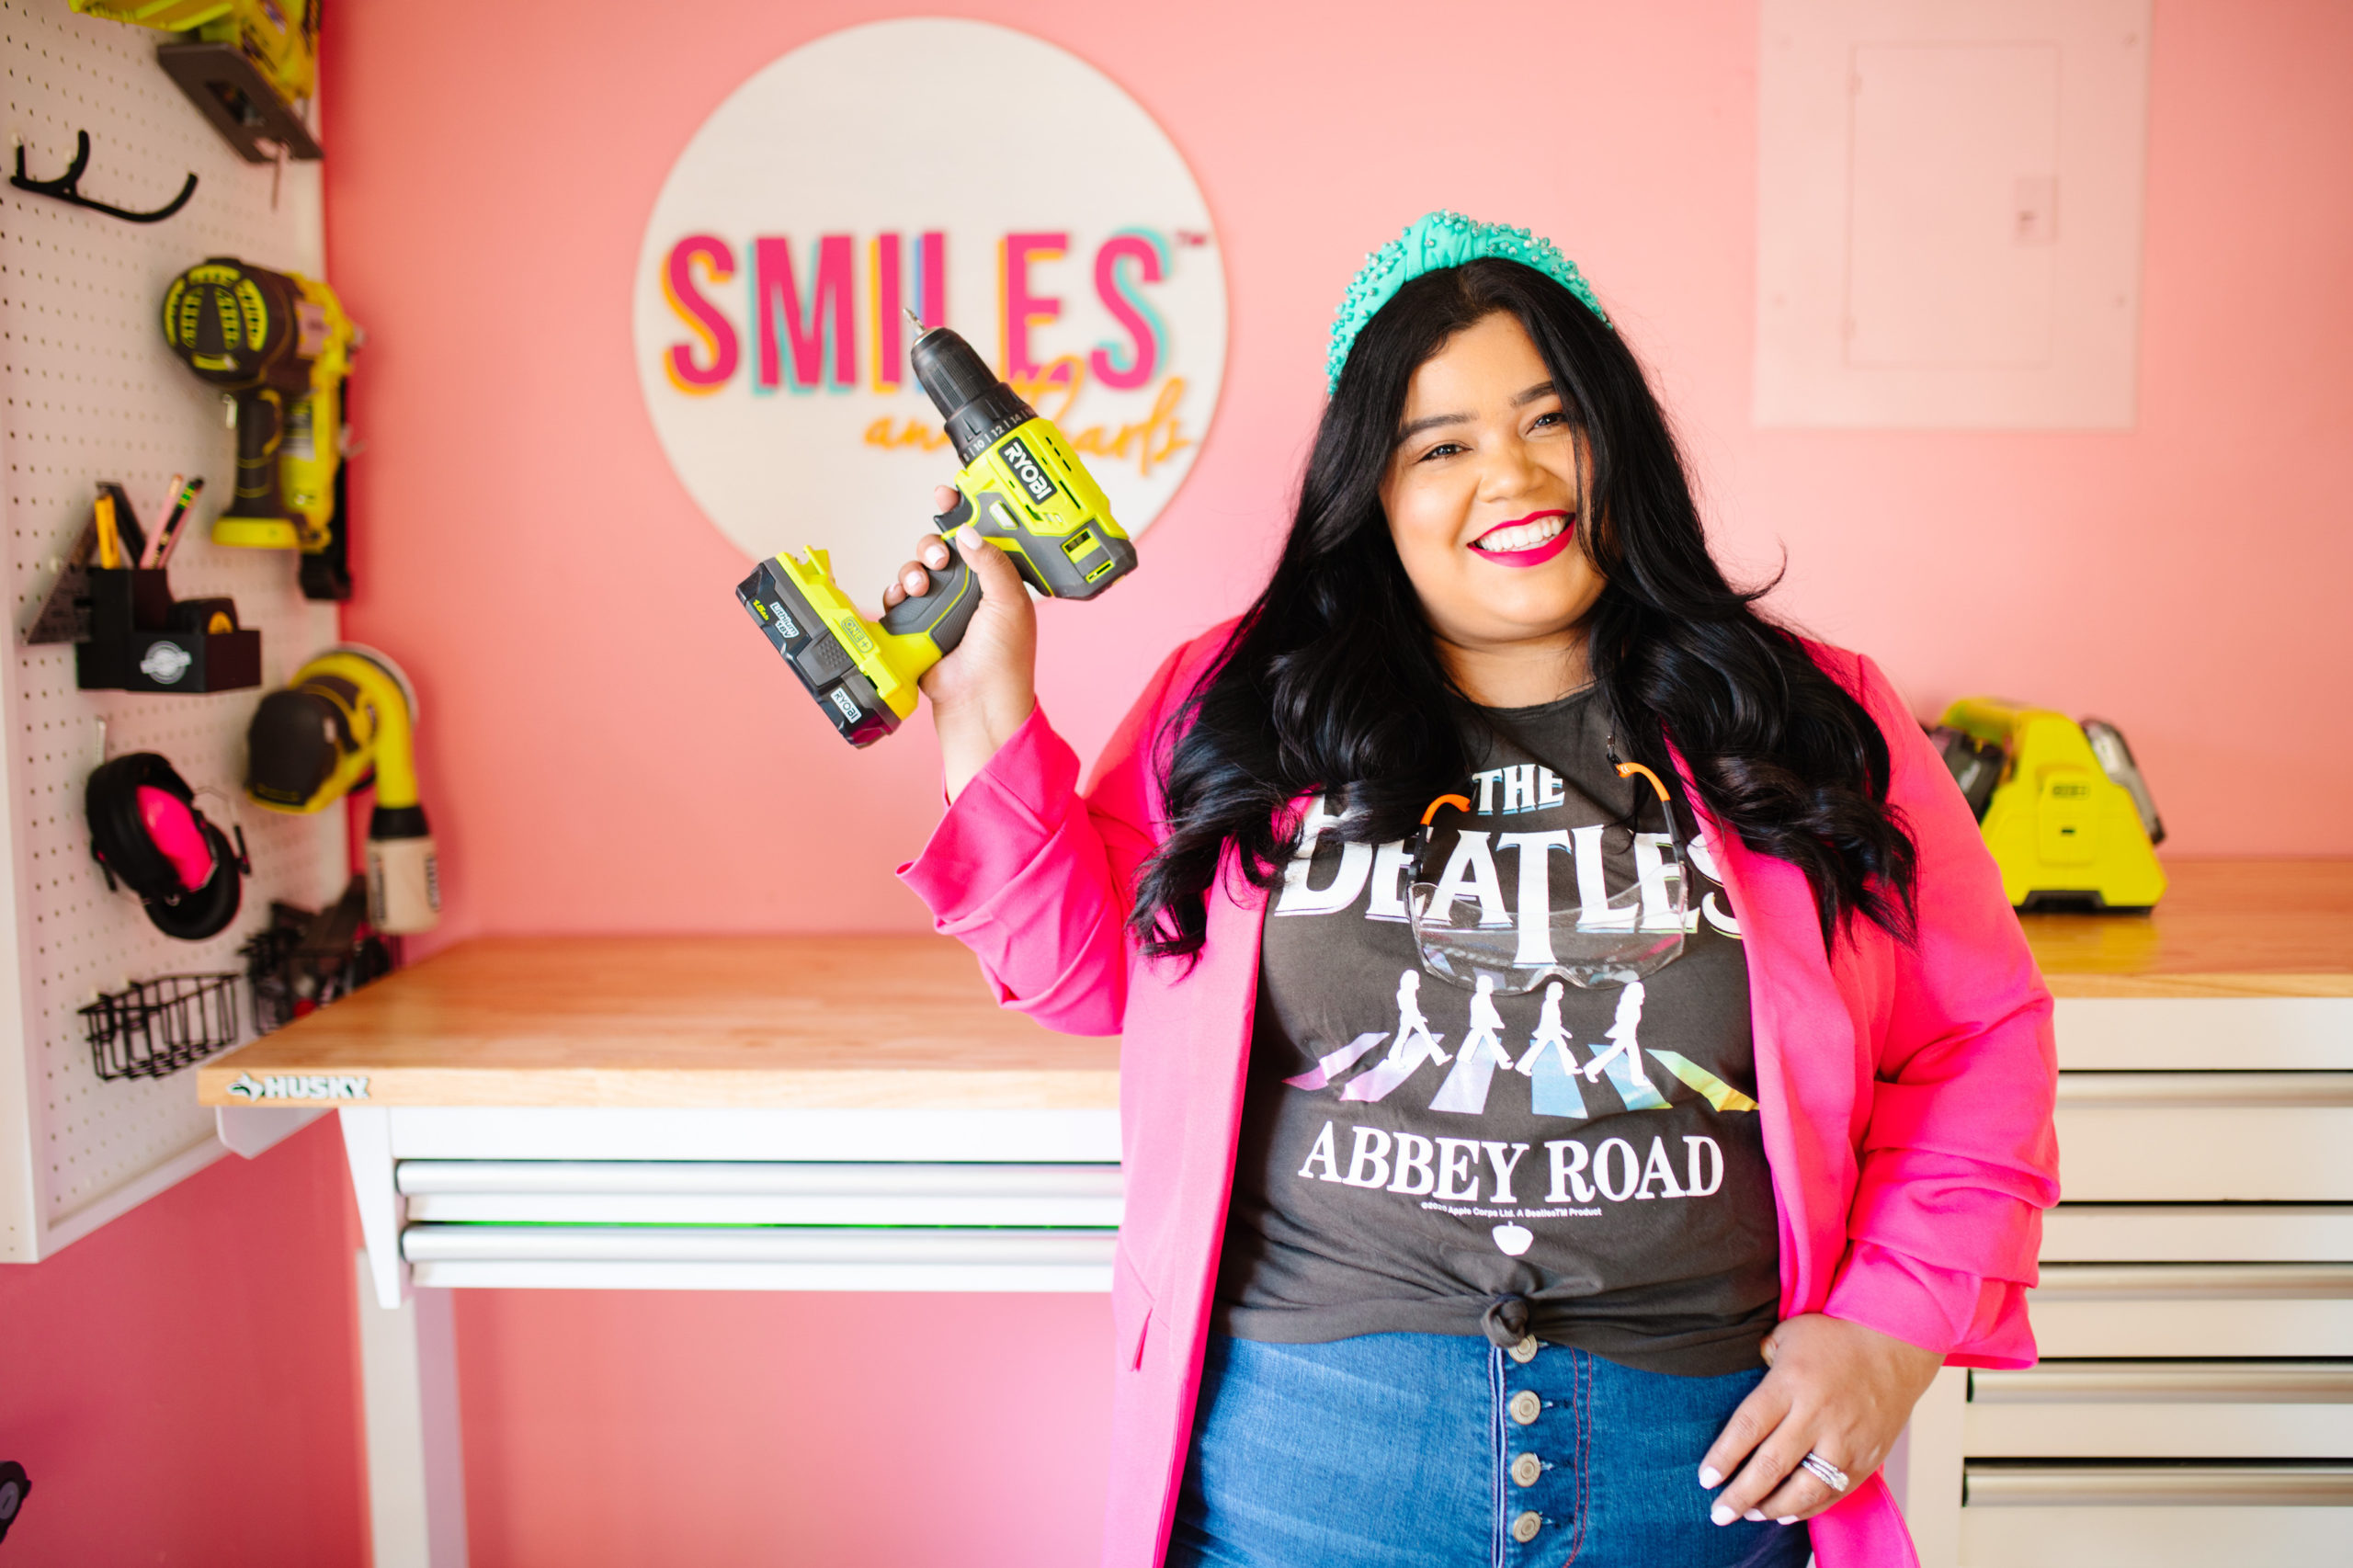
When I decided I wanted to begin to learn how to build and do things myself, I also decided I needed a dedicated workspace for all my DIY projects…even if it were a small space. So, I carved out one wall in my garage and decided to make it my own.


One of the first things I took under consideration was a workbench. At the time I wasn’t as comfortable with building something of my own. Instead, I picked out a modular workbench that was on casters. The width of the workbench had to fit within the width of the raised area on the wall I was working with (see below.) I found an adjustable Husky workbench along with an additional one for storage that fit perfectly in my space.

Even though I had a modular toolbox, I still needed a place to house my power tools. A peg board was the perfect solution. I purchased a 2’x4′ peg board from Home Depot and I used these accessories I found from Amazon to organize all my tools. I just trimmed it out with a 1×2 and hung it on the wall. It’s the perfect size! You can take a took a video of my progress on my Instagram.
Afterwards, I painted the walls Jaipur Pink by Sherwin Williams and I added a custom wooden sign with my logo on it from PollyAnn Collection. I highly recommend purchasing her wooden signs for any of your branding or home decor needs. Sumhr’s (the owner) craftsmanship is impeccable.


Future Plans
I’ve outgrown my 2’x4′ pegboard and I need more wall space for additional tools. I have also added a table saw and a tile saw so those need to also find a home. I might carve out another small space on the adjacent wall, along with adding another 2’x4′ pegboard, and building my own modular table saw table this time. I will keep this post updated to show the additional progress.
Don’t forget to shop all my DIY favorites via my LiketoKnow.it or under this section on my blog.


comments
0
Share this post on: